
Ready for another round of easy closet upgrade ideas?
In the first instalment we focused on closet curation.
In the second instalment we looked more at streamlining.
Last time, in the third instalment, we focused on creating visibility.
This time we’ll be talking a bit about closet care.
As much as an intentional closet involves wish lists and thoughtful item choices, it also involves protection and restoration. In today’s post I’ll be covering three simple ways you can upgrade your closet through the lens of care.
So let’s get started!
This post contains affiliate links. This means if you decide to shop through the links included, I may earn commission on a sale at no additional cost to you. All opinions are always my own and I only share items I love and think you might too. Thanks for supporting Style Bee!
UPGRADE #1
PROTECT YOUR OUTFIT WITH AN APRON YOU LOVE TO WEAR
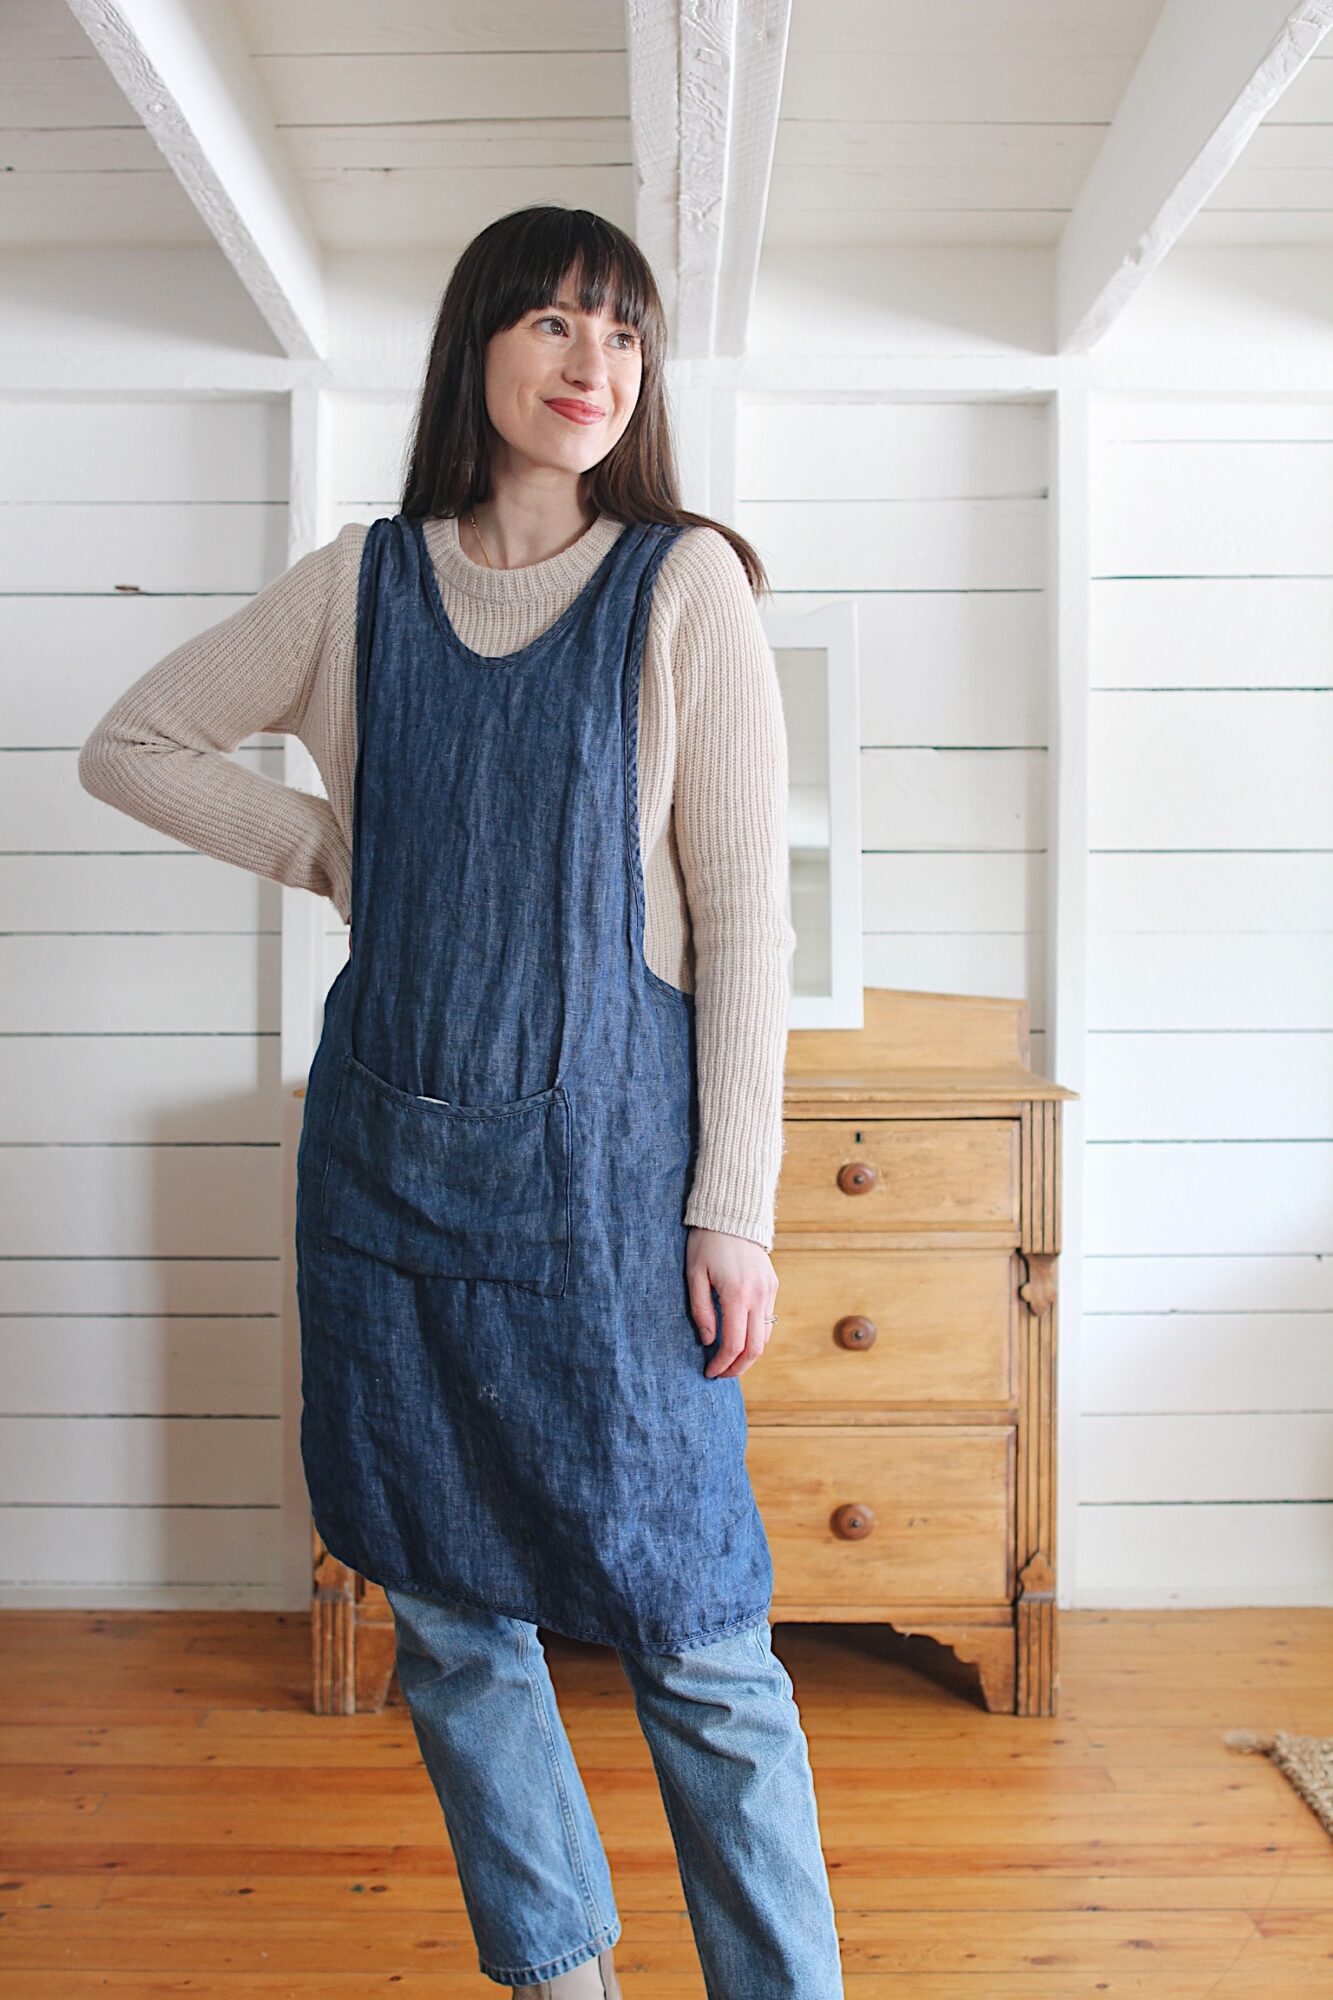
I’ll be the first to concede that an apron isn’t going to be topping the “must-have” lists but hear me out!
Several years ago my sister-in-law gifted me this lovely cross-back apron and since then my closet has been so much safer from my daily culinary exploits. It’s beautiful, minimal, functional and a delight to wear everyday in the kitchen. I also put it on when I’m heading to the garden or getting up to anything that might lead to stains or other such trouble.
If you’re hesitant to wear special items in your closet on a day to day basis because you don’t want to get them dirty, an apron that you can easily toss over top as needed may actually open up your closet in ways you didn’t think of.
I like this apron in particular for a few reasons:
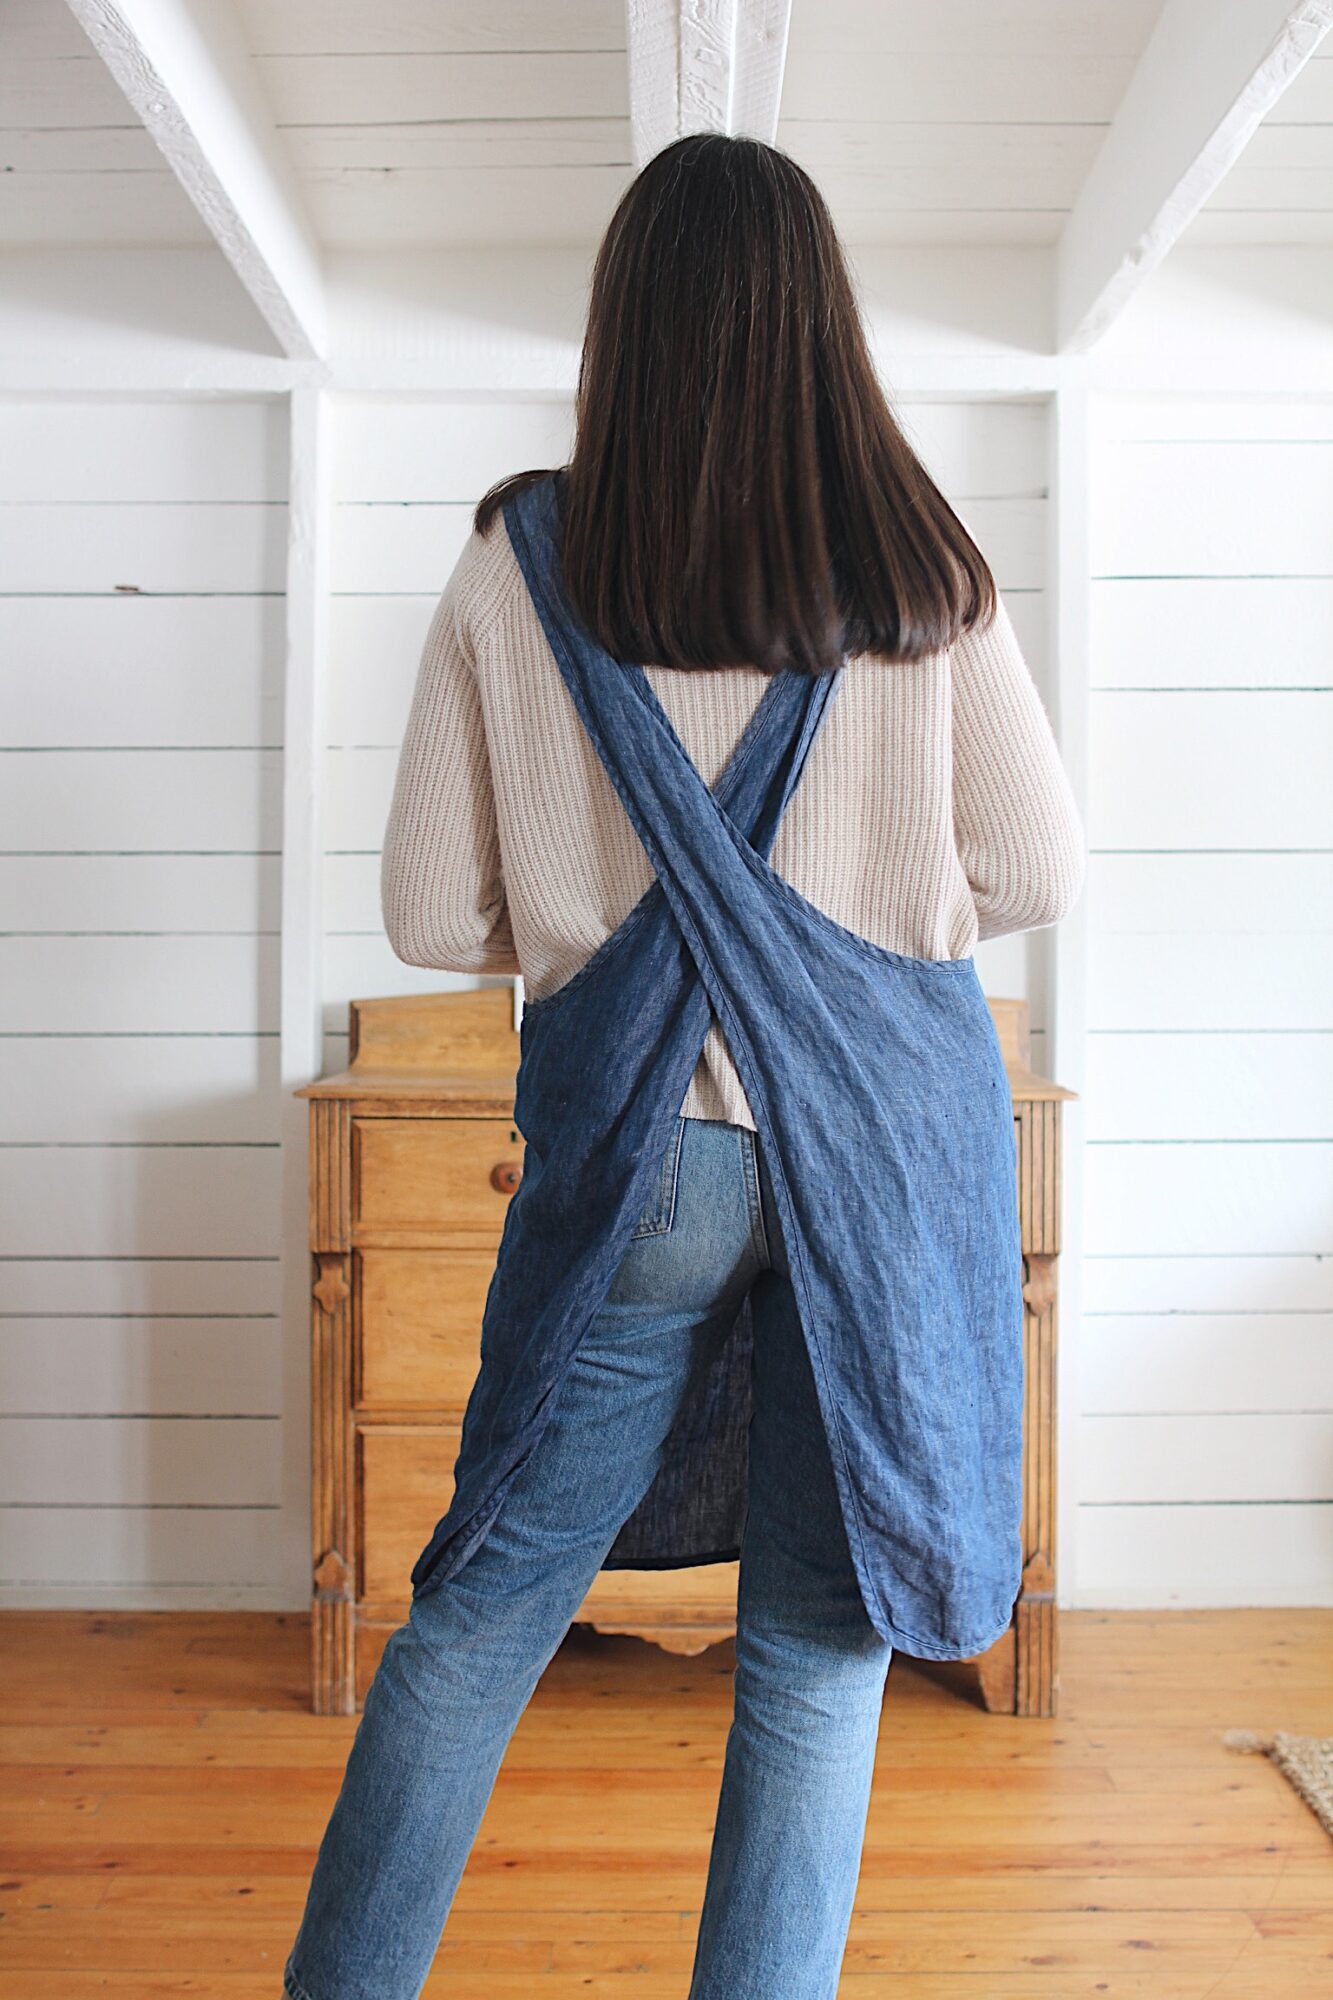
- The cross back straps mean no tying is needed and no creases on the clothes underneath.
- Front pocket comes in handy for all sorts of things. Mainly a pair of scissors or instant thermometer.
- The fabric is lightweight and very comfortable to wear.
- It is super easy to throw in the wash and there are no long ties or hardware to cause trouble.
The maker that offers my exact apron is taking a break but I’ve linked to it anyway and curated a whole bunch of similar options from other ETSY makers (see below). An apron like this is a really great gift idea for any of the hosts or homemakers on your list.
UPGRADE #2
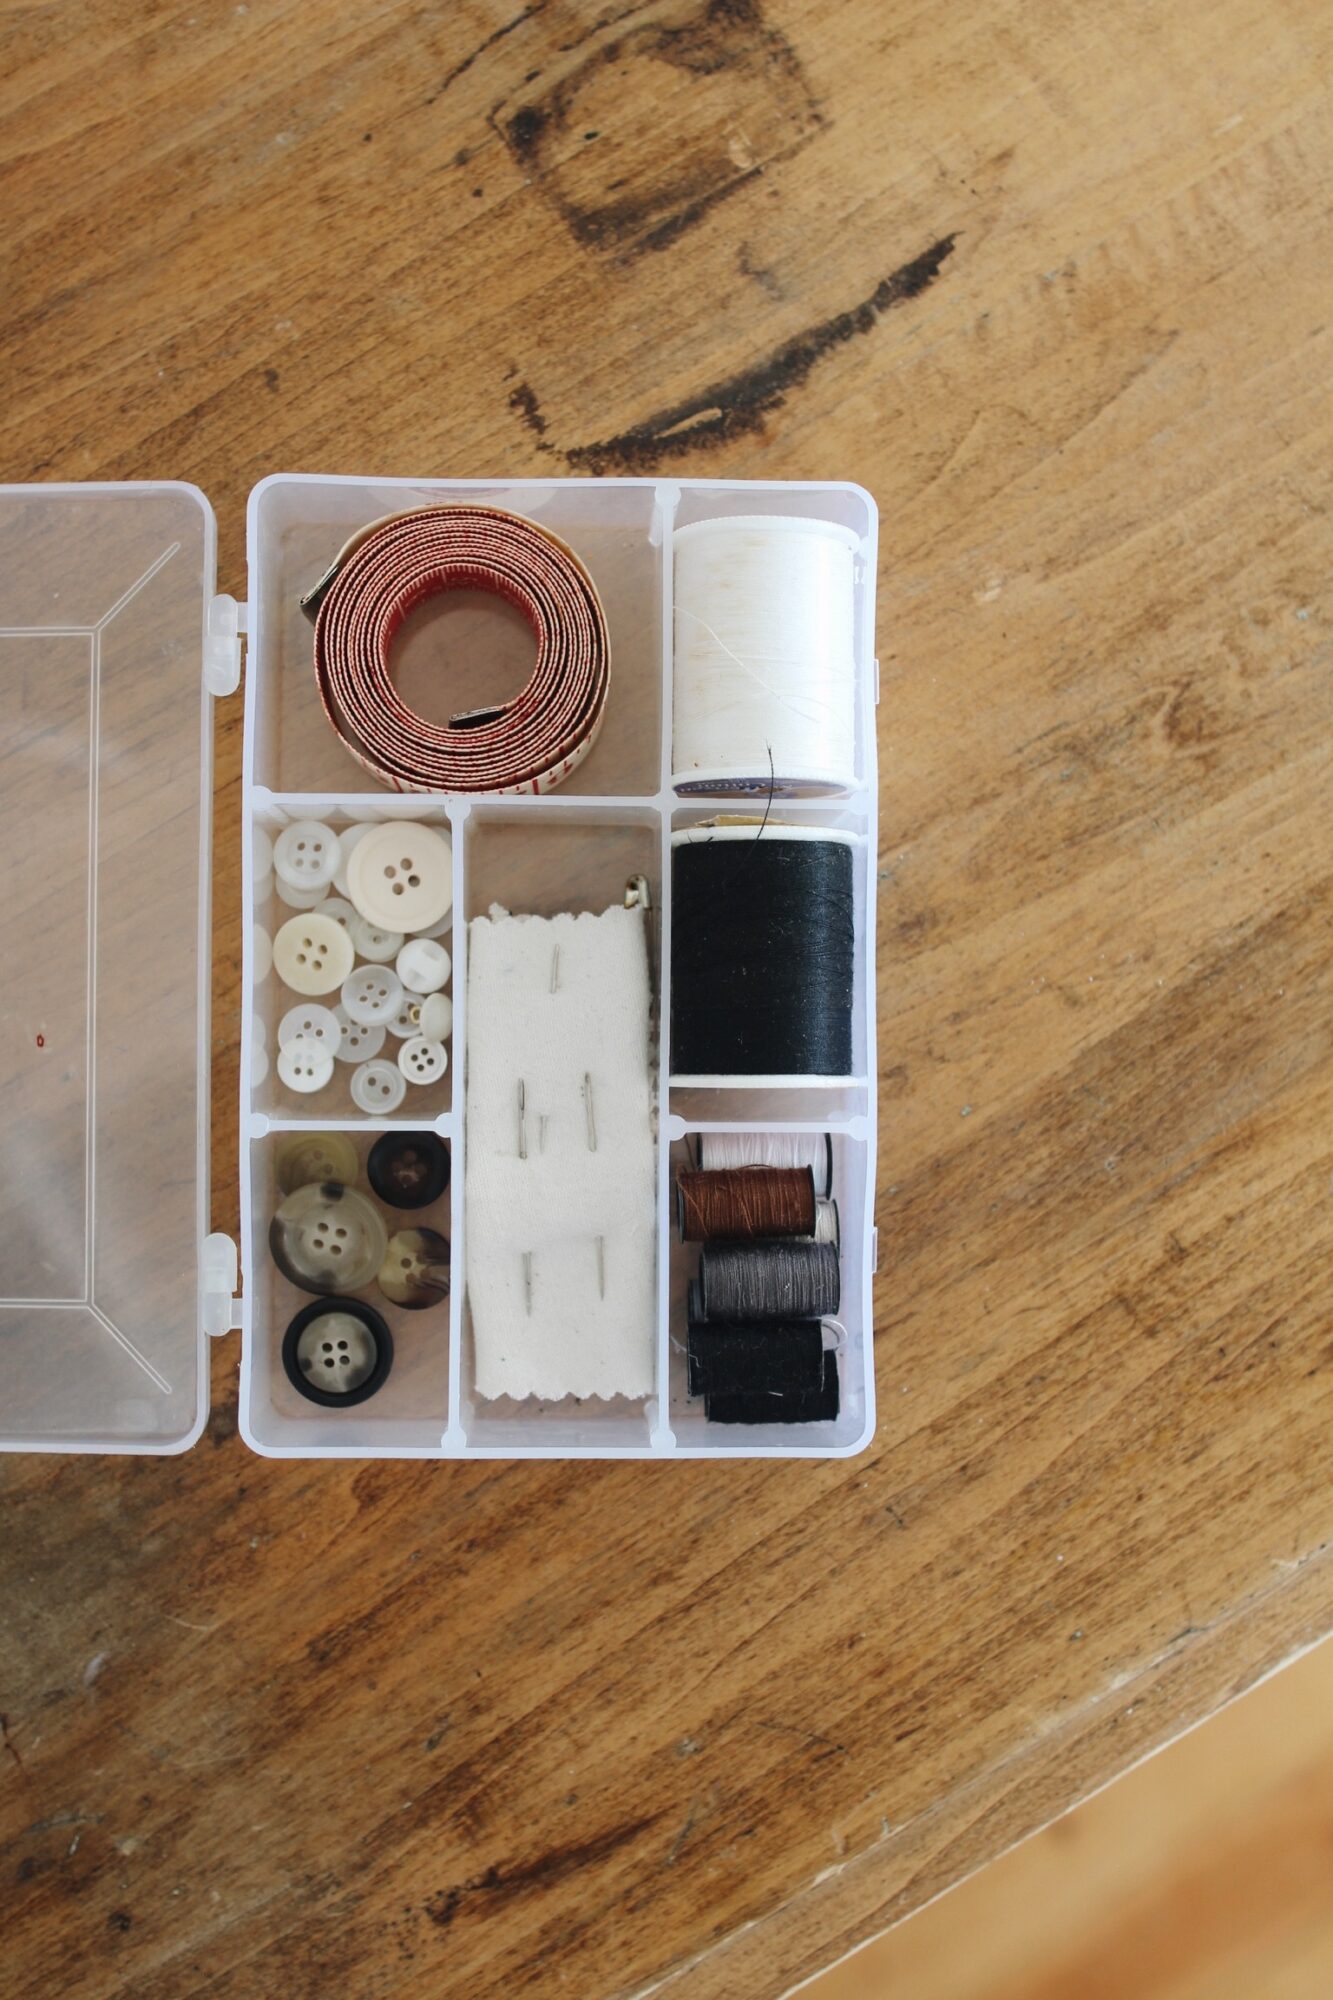
PUT TOGETHER A USEFUL SEWING KIT
Having a sewing kit handy is so helpful when you need to repair a quick seam or sew a button back on. There are endless tutorials on YouTube for hand sewing and having a kit that helps you mend and maintain your favourite garments is a total style flex.
It’s empowering to be able to mend your own clothes as needed and will help keep your favourites in rotation for longer. The odd seam split, busted button, hanging hem or loose belt loop need not impede your wardrobes capabilities!
My sewing kit includes:
- A Measuring Tape (super useful for all sorts of reasons but ordering online in particular)
- White Thread
- Black Thread
- A range of neutral coloured threads
- Light buttons in varying sizes (all from garments that come with spares)
- Dark buttons in varying sizes (all from garments that come with spares)
- Several sewing needles & safety pins (not shown)
- Sewing scissors (not shown)
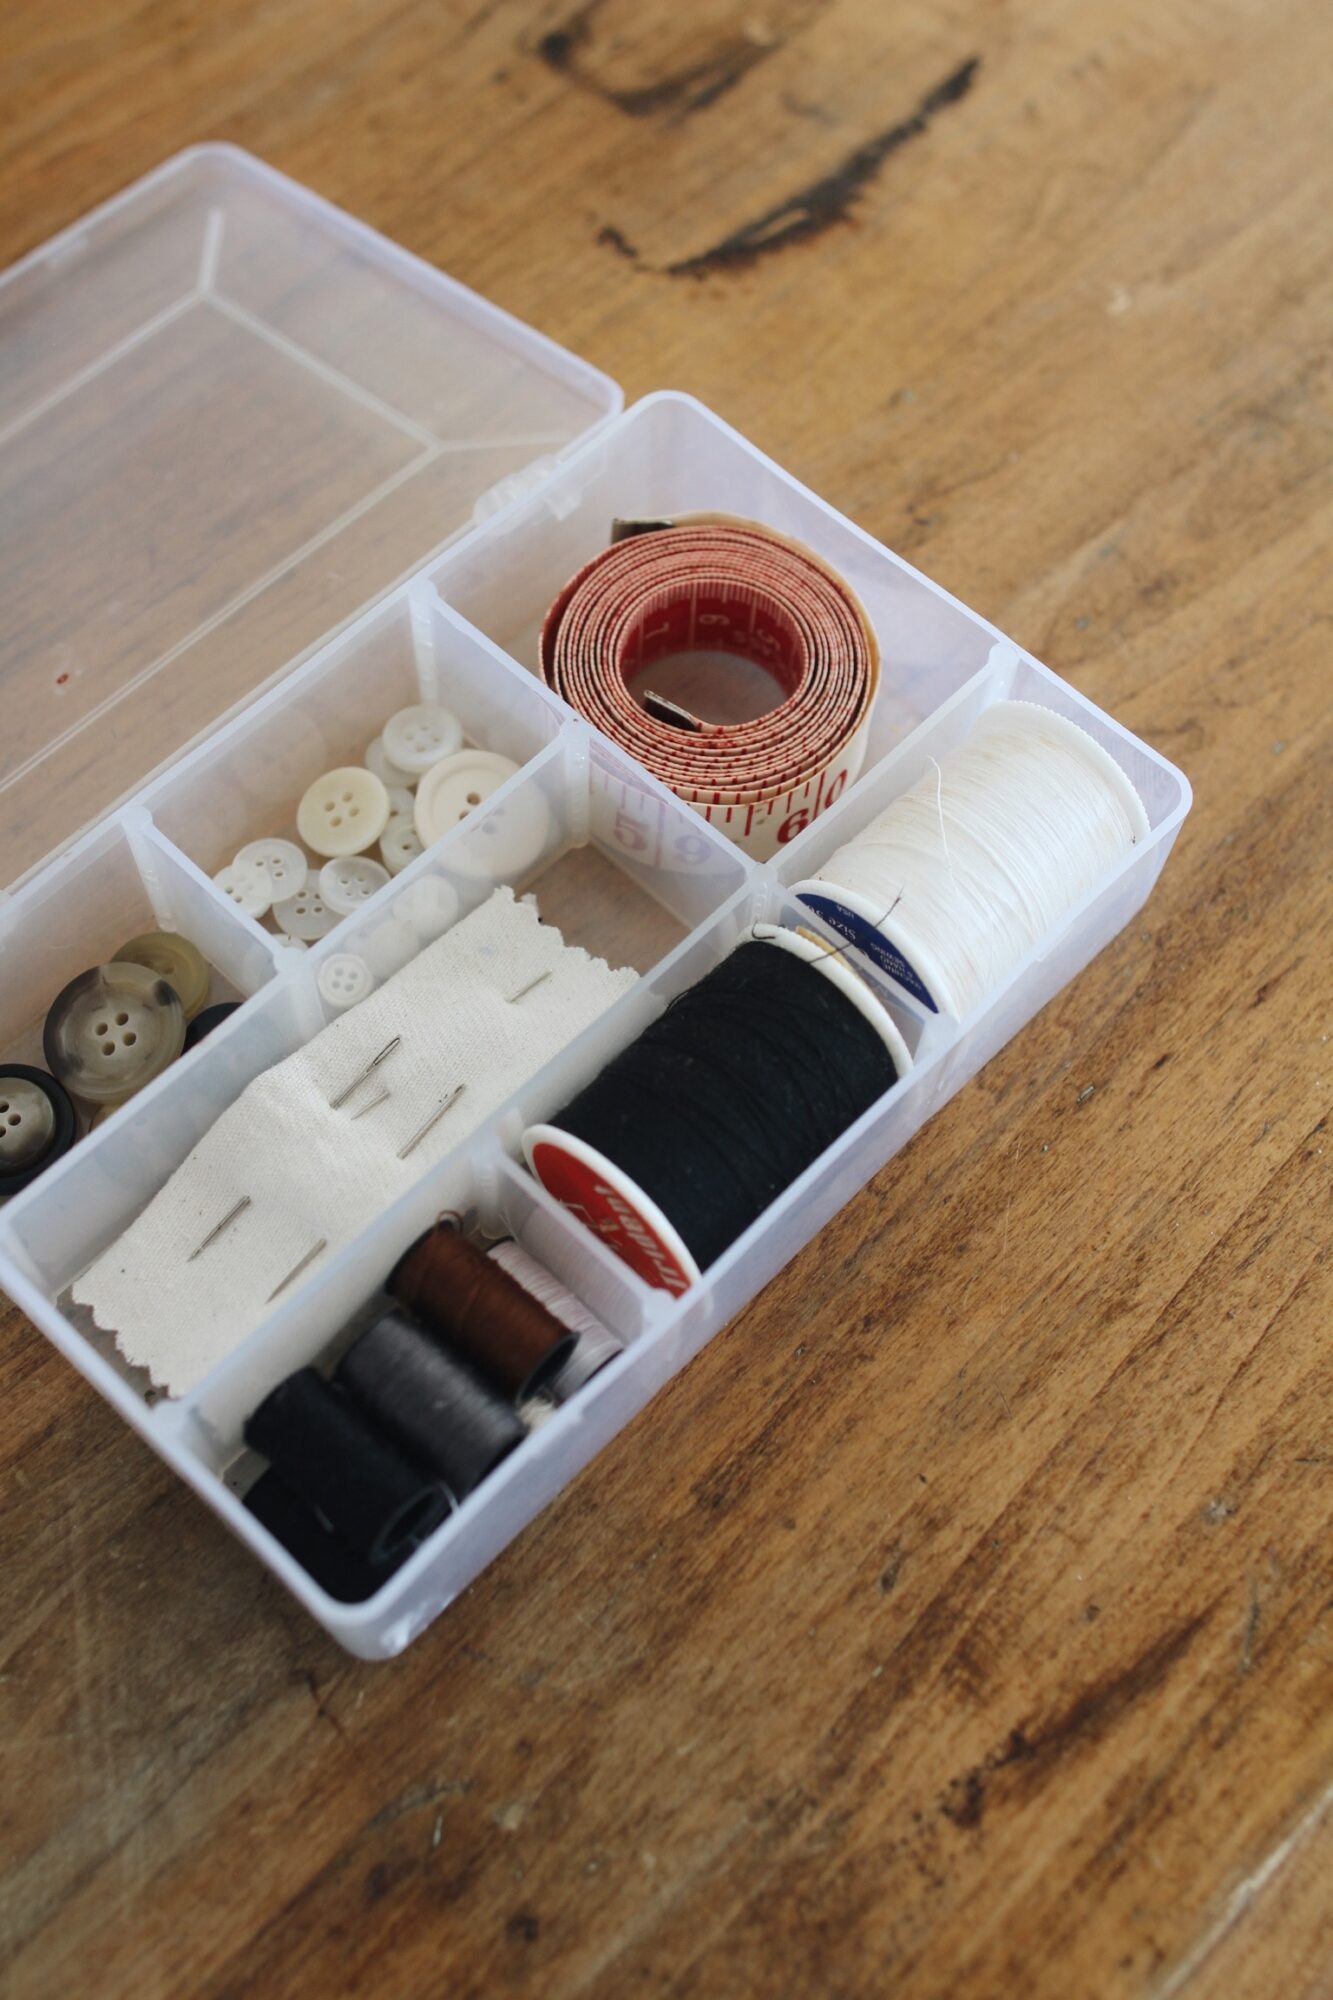
I like to keep everything in a clear box so it’s easy to find what I need.
There are loads of options on Amazon but this travel one would be my choice if I was starting from scratch now.
UPGRADE #3
GET A SWEATER COMB FOR YOUR KNITWEAR
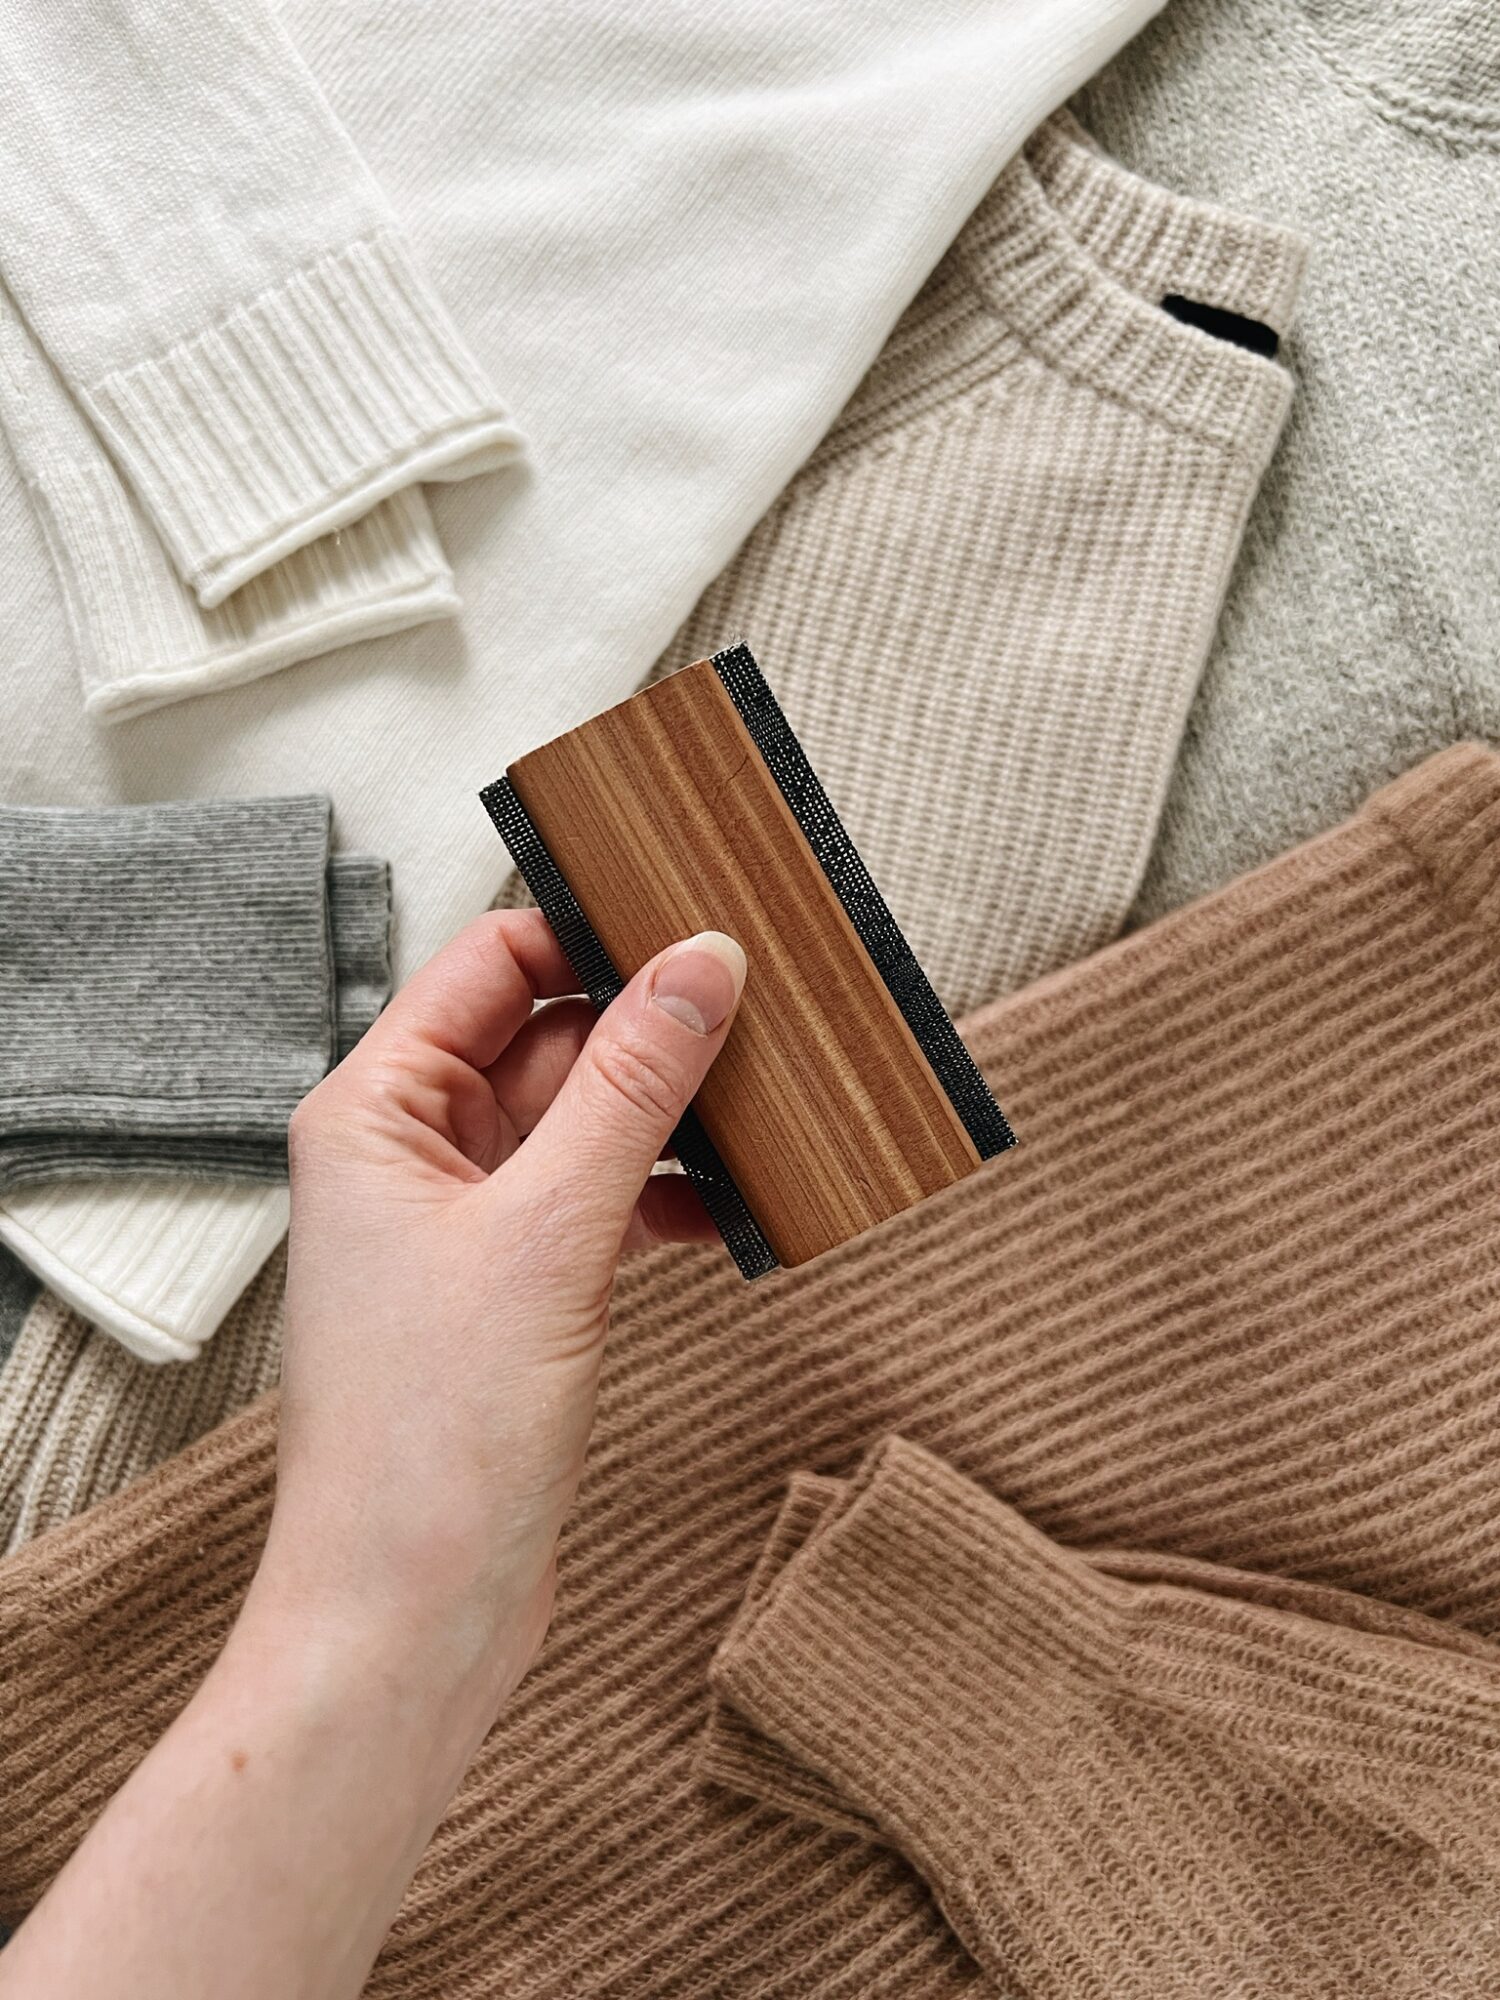
I’ve personally invested quite a lot of consideration and capital into my knitwear collection so it’s important that the pieces last as long as possible.
I go into a lot more detail about how I care for my knitwear in this post but when it comes to the tool I use most it’s definitely my sweater comb. It does a great job of de-pilling and even removes the odd surface mark or stain. I’ve considered an electric lint remover or fuzz shaver but I don’t think it’s necessary given how effective and easy the comb is to use. Plus, there’s no need to charge or plug it in and it’s travel friendly!
My sweater comb is from BARE knitwear and its made of cedar, which helps to repel moths and other knitwear devouring pests if you store it with your collection.
Here’s a look at how the comb works:
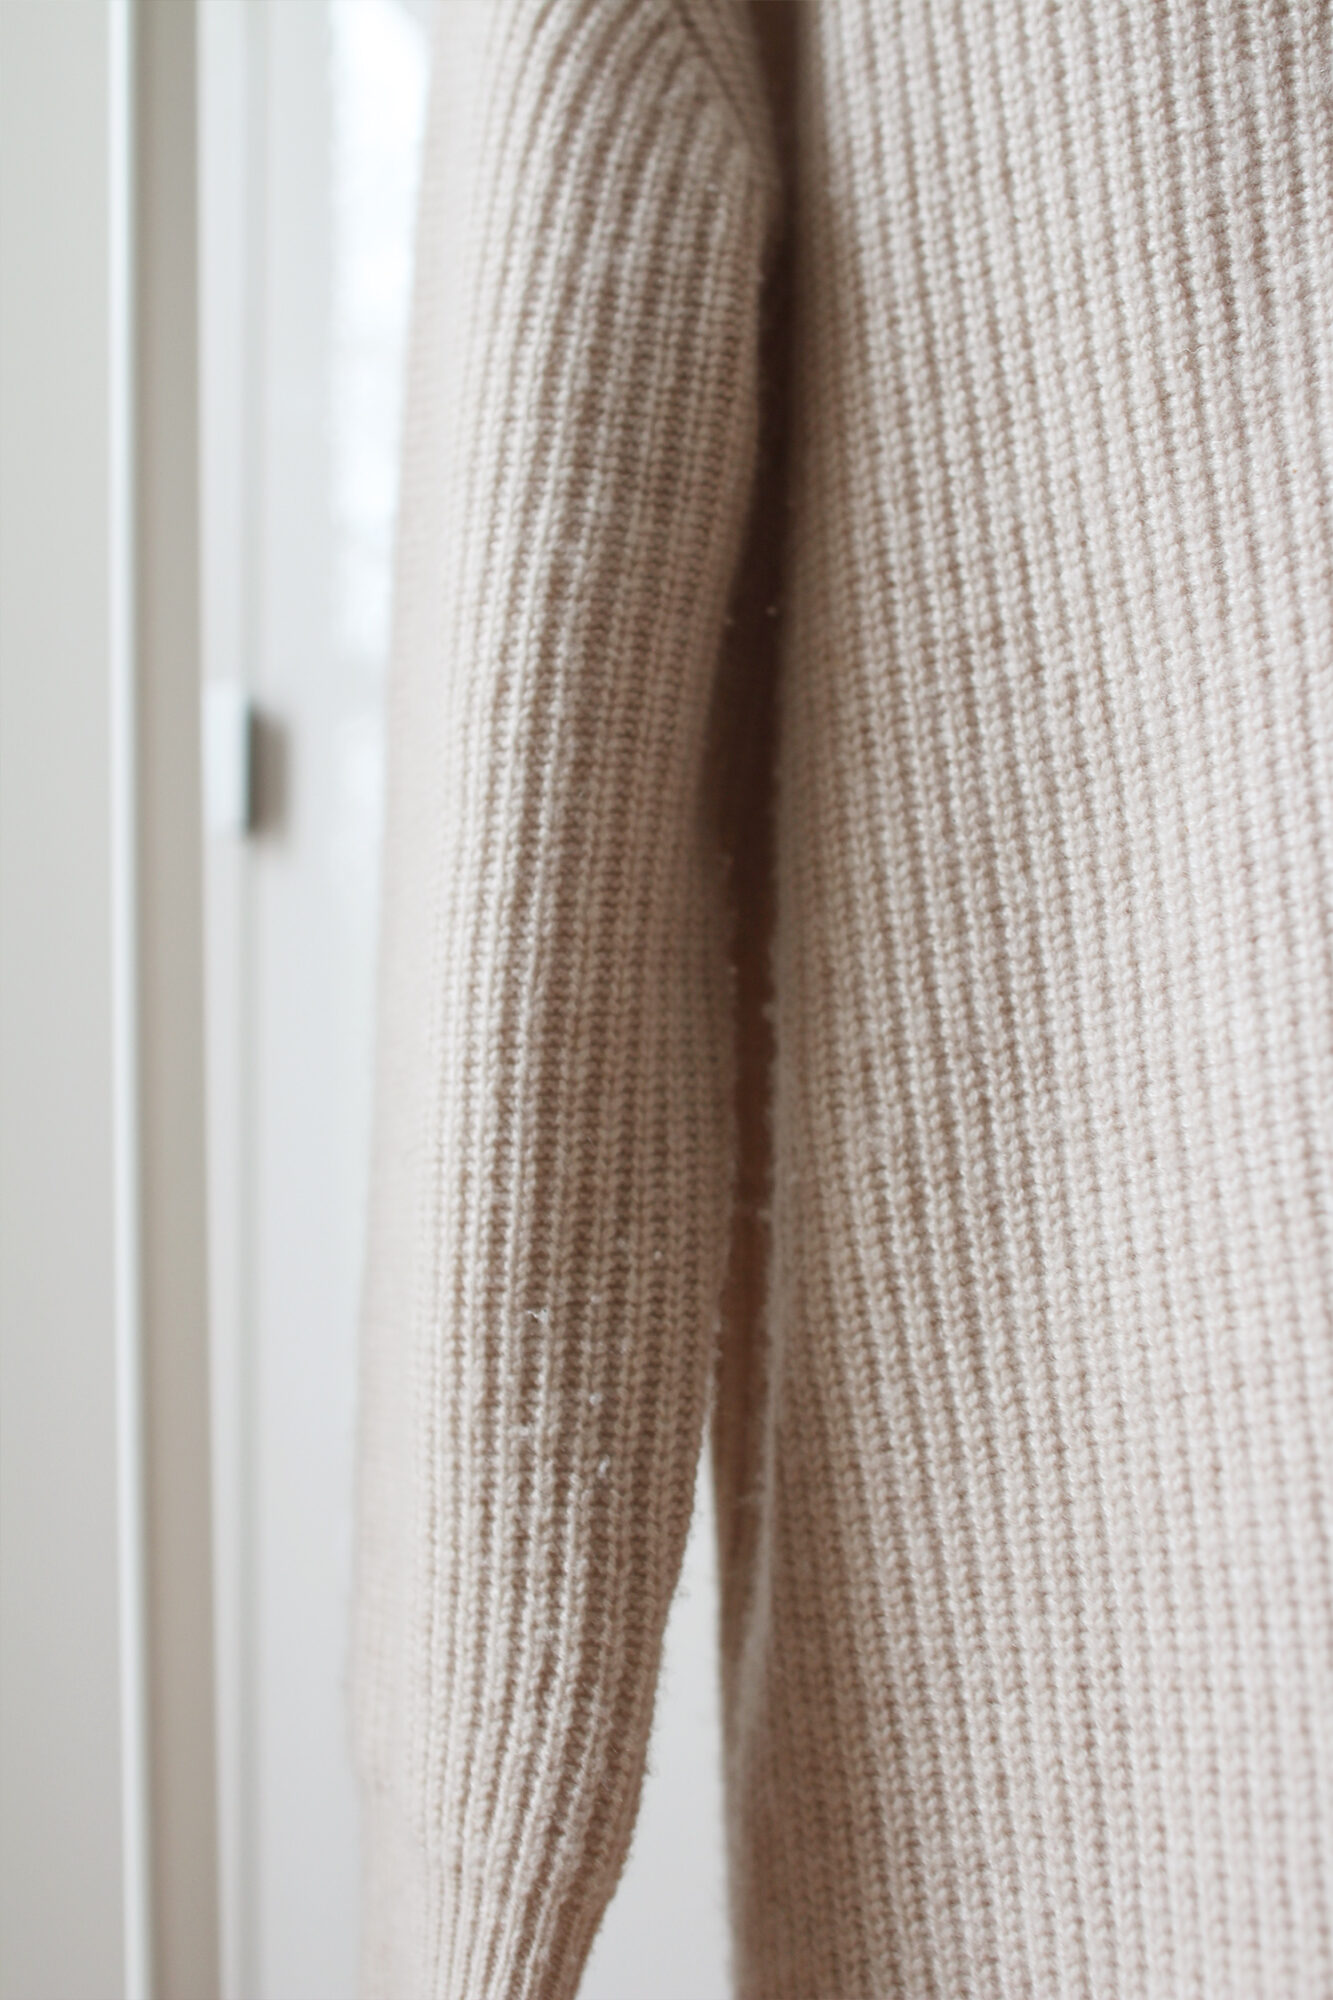
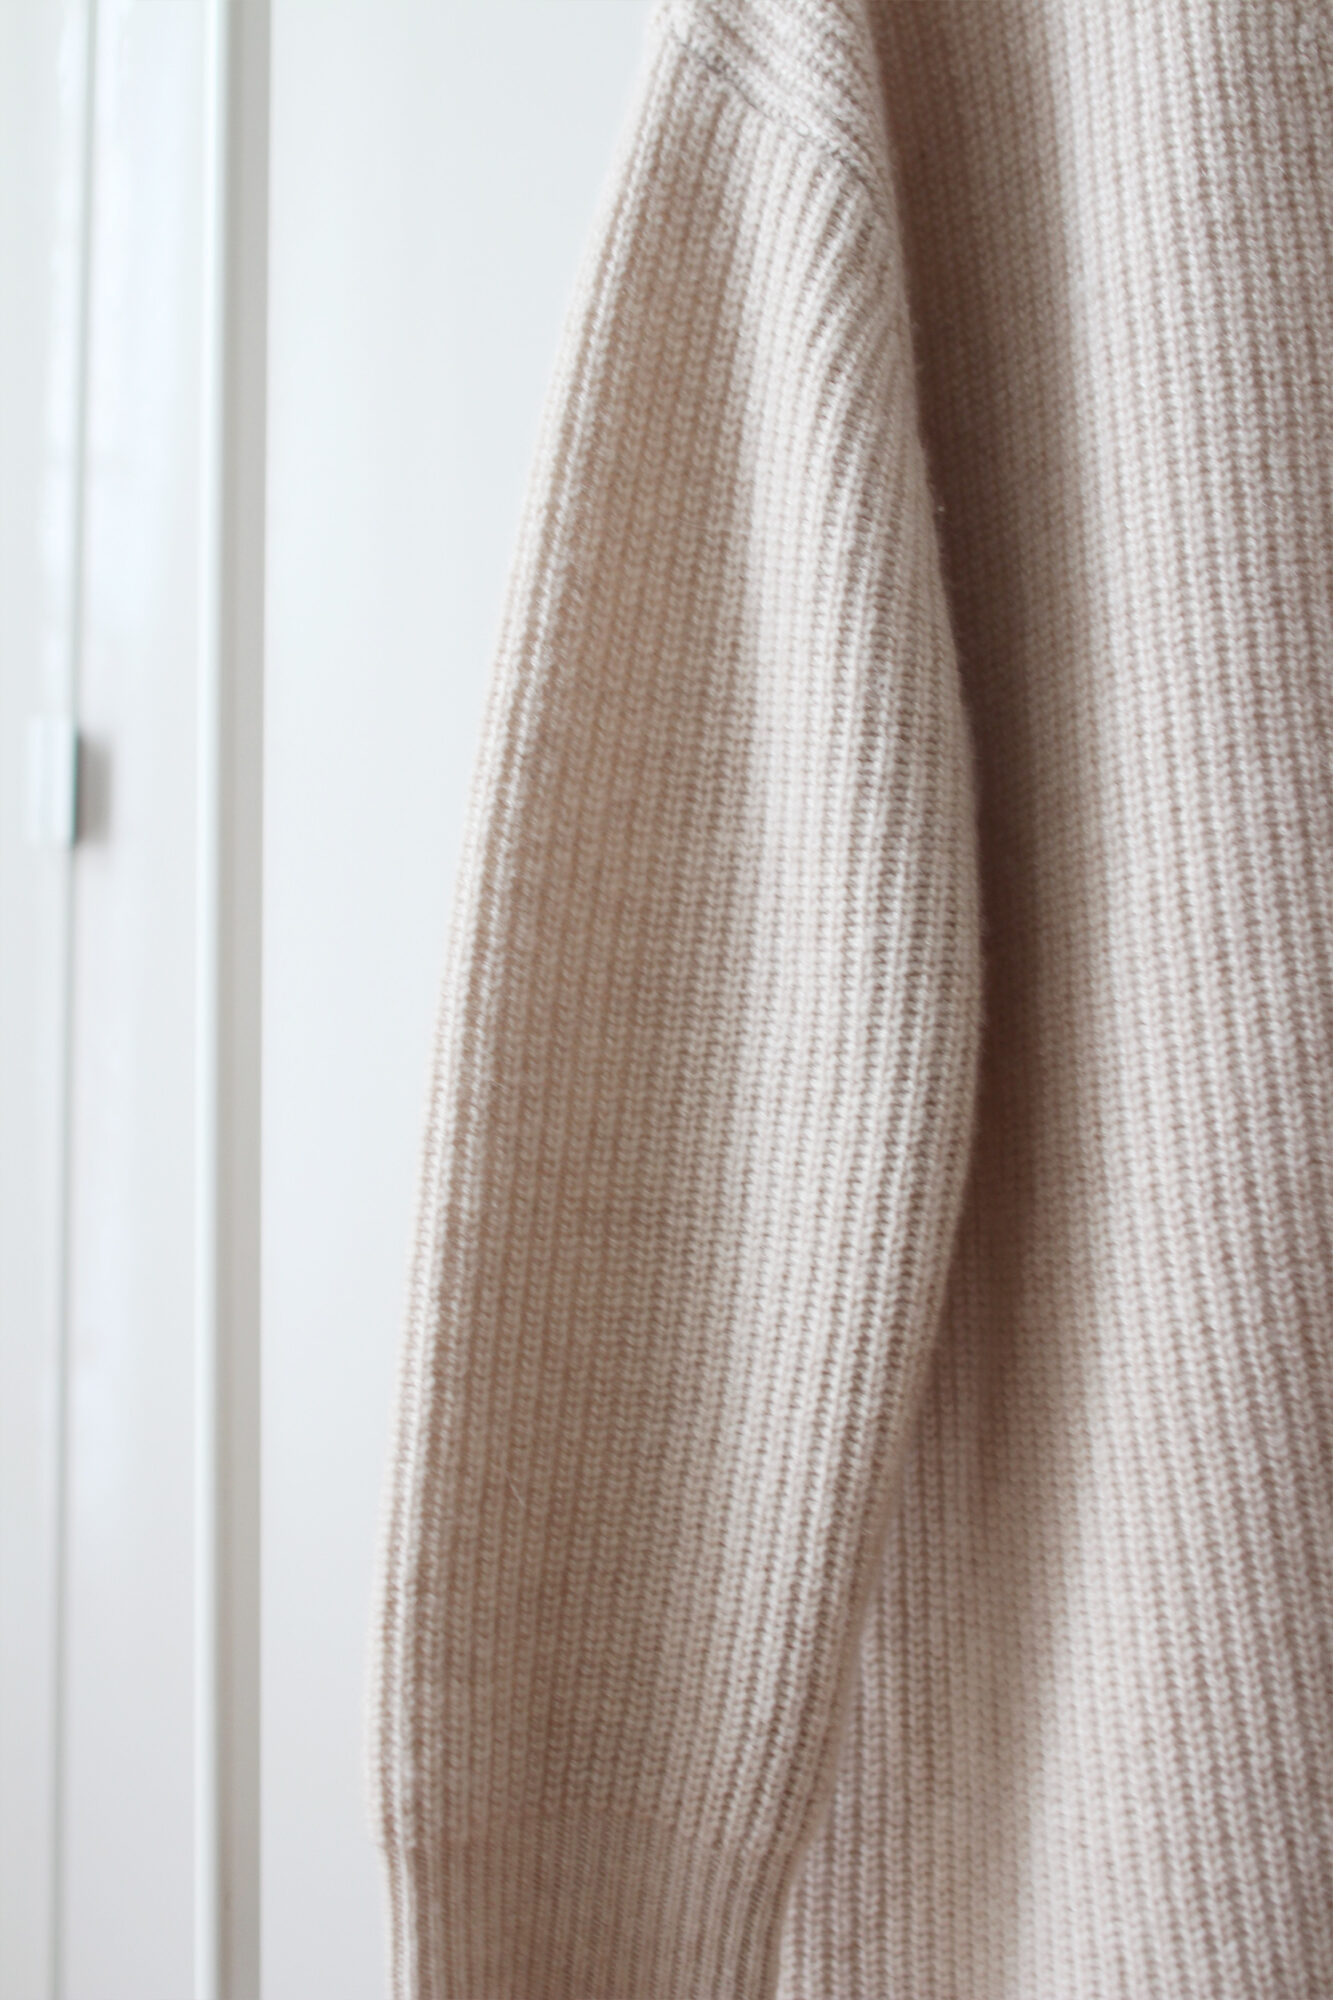
BEFORE
Here’s how my Cocoon Cardigan looks after it’s been worn several times. As you can see, there is some pilling where the sleeve brushes against the body of the garment.
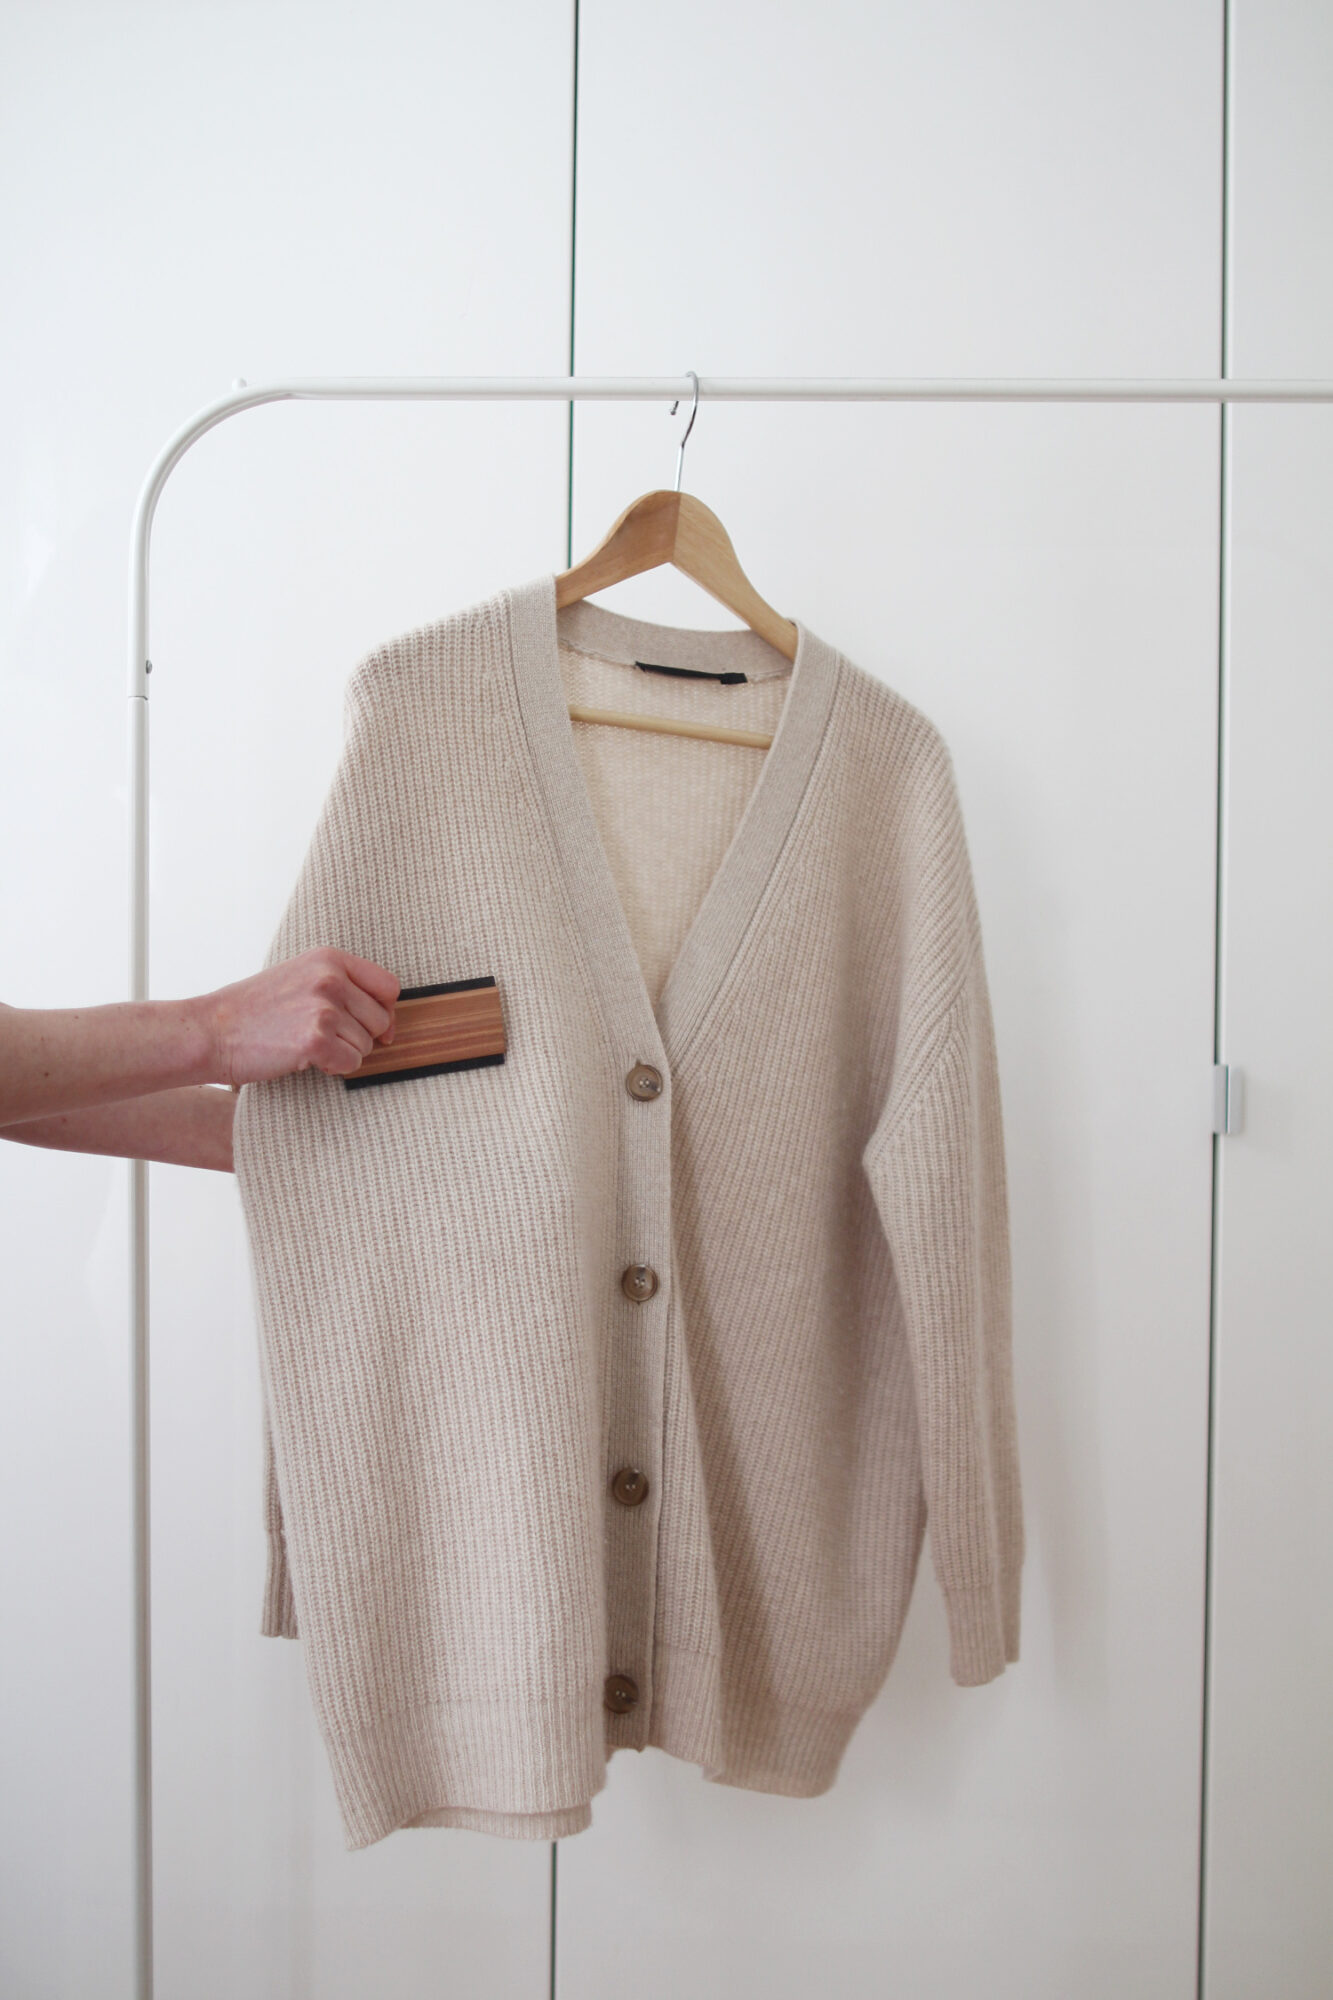
HOW TO USE THE COMB
In an upward brushing motion, I sweep the comb with a bit of pressure over the knit. I usually lay it down on a flat surface, rather than on a hanger as shown.
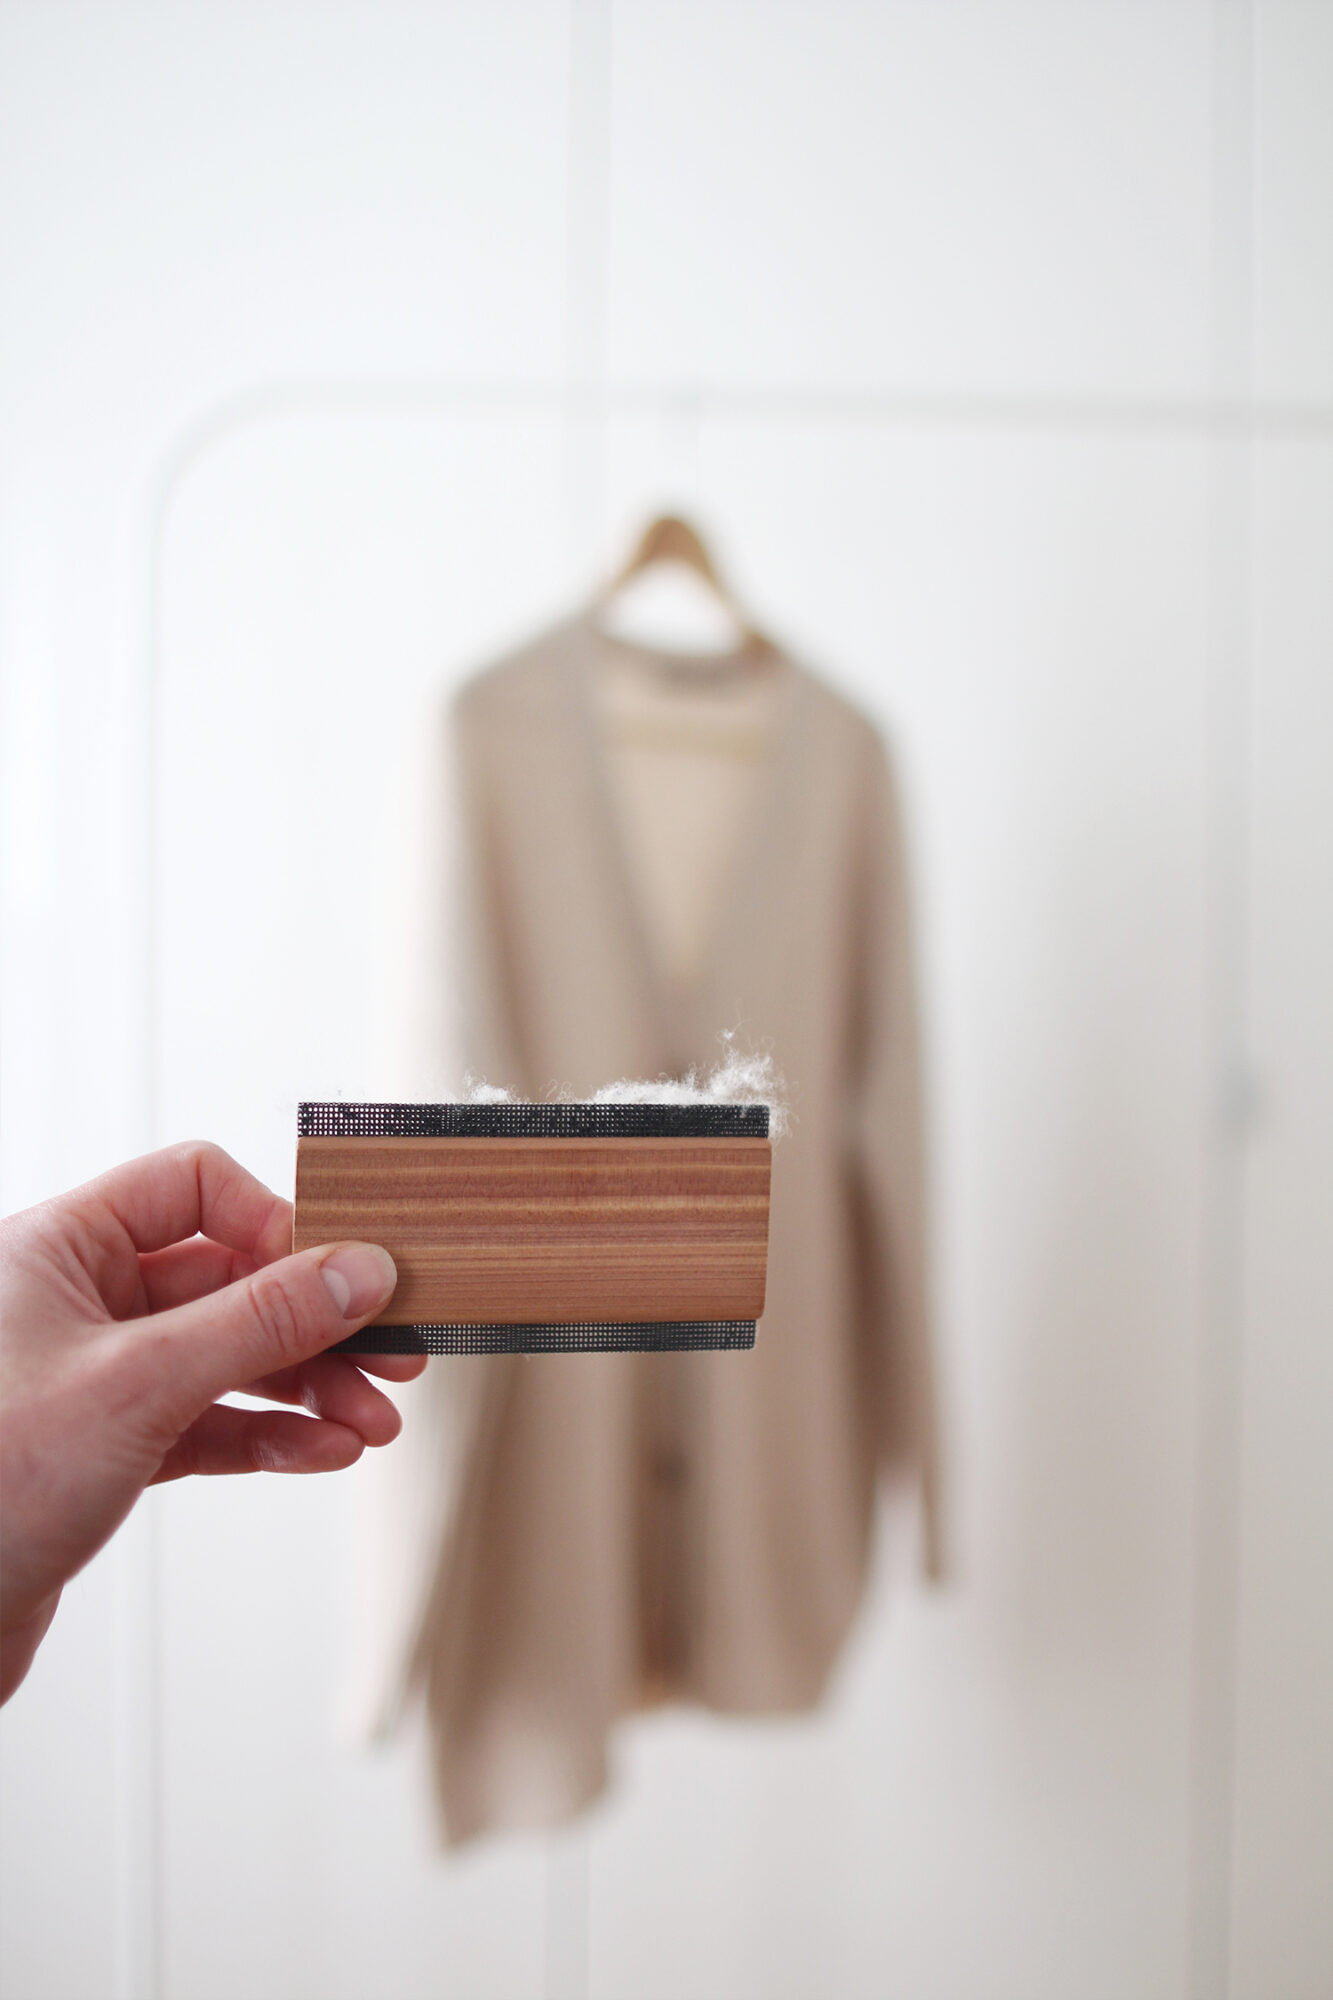
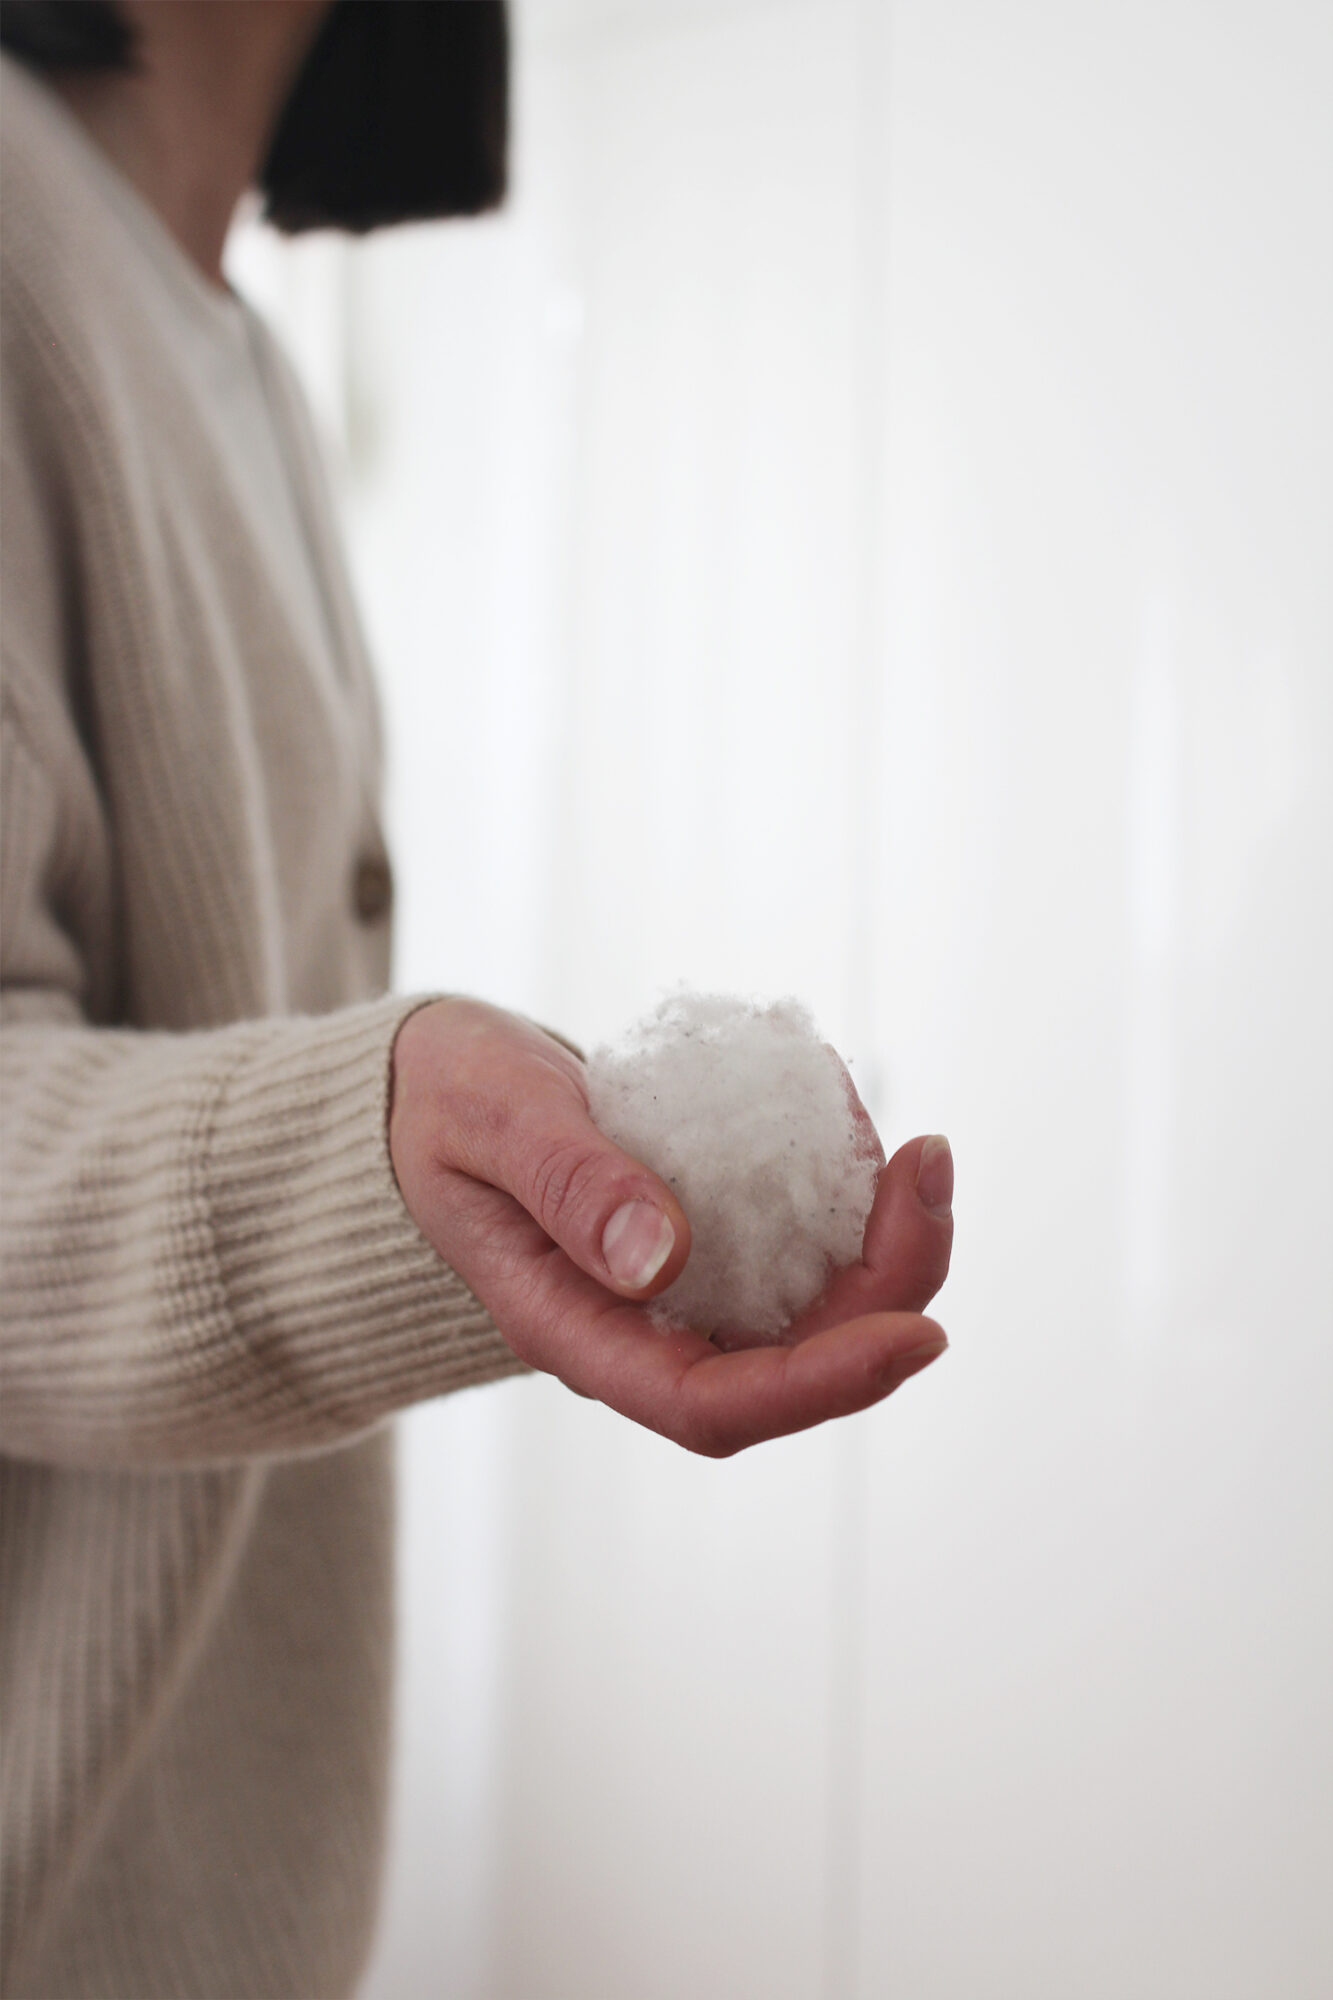
COLLECT THE PILLS
The black mesh on either side of the comb are teeth that collect the pills. I clear these off after about 5 or so passes.
HOW MUCH COMES OFF
It depends on the fibre and the knit. Alpaca will release more than cashmere and cashmere more than merino wool but every knit is different.
AFTER
You’re then left with a garment that looks like new!
& there you have 3 more Easy Closet Upgrades to make at any time!
In case you missed the previous instalments of this series catch up on:
PART ONE
PART TWO
PART THREE
Tune in soon for Part 5 where we’ll be taking a look at upgrades to help you fine tune your signature style!